Grandma Elsie's Sourdough Loaf
A forgiving sourdough loaf with a crackling crust and an open, custard-soft crumb — the one our family has baked every Sunday for three generations.
Contributed by Elsie Whitman
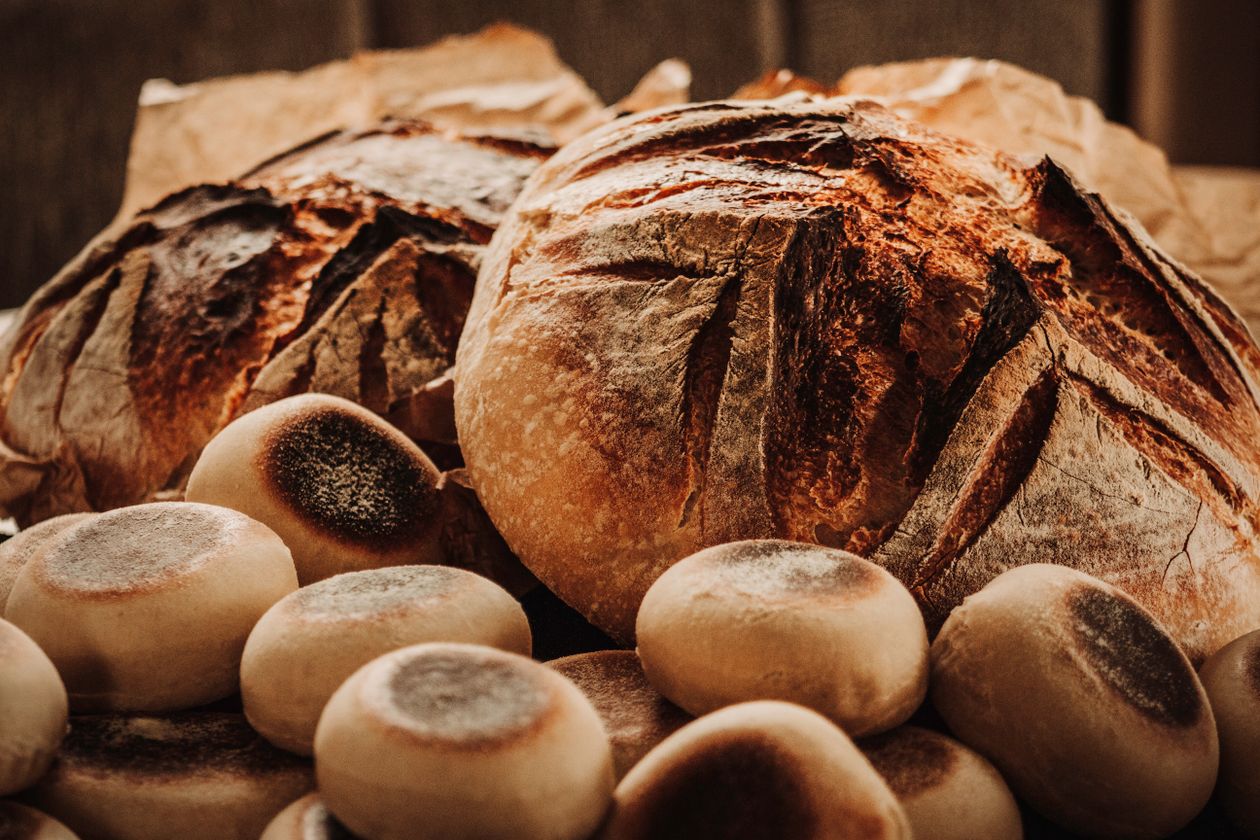
This is the loaf my grandmother Elsie made nearly every Sunday for as long as I can remember. It’s not a fussy recipe. There are no digital thermometers, no bulk-fermentation charts, no deadline at 4 a.m. It’s a bread you can start after breakfast and eat with supper.
The starter is the only thing that asks anything of you, and even that is forgiving — Elsie’s starter has survived a move across the country, two weeks in a forgotten fridge, and at least one occasion where somebody (me) fed it with the wrong flour. It is, as she put it, “a hardy little beast.”
A few notes from the card
The original card has a pencilled note next to the flour that says “Gold Medal if that’s what you have” — Elsie was not a brand snob, though she did insist on bread flour for the protein. The water temperature isn’t written down at all. When I asked, she said “warm like a baby’s bath,” which is the only instruction I’ve ever found useful.
The cold proof is the step she added late. Her earliest cards skip it and go straight from shape to bake, but a note in the margin — in different ink, years later — says “better if it sits overnight.” She was right. The overnight rest gives the loaf a tang that’s more like a whisper than a shout, and the crumb opens up into the soft, custardy holes that make this bread worth tearing into with your hands.
Don’t skip the long cool after it comes out of the oven. It feels like torture. The loaf smells incredible and you will want to cut into it immediately. Wait. The crumb is still setting, and a warm slice gummy in the middle is not the bread you spent the day making.
- Prep
- 30 min
- Cook
- 45 min
- Total
- 1 hr 15 min
- Yield
- 1 loaf
- Category
- Bread
Cuisine: American
Ingredients
- 500g bread flour
- 350g warm water
- 100g active sourdough starter (recently fed)
- 10g fine sea salt
- Additional flour for the proofing basket
Instructions
- 1
Combine the flour and warm water in a large bowl and mix until no dry spots remain. Cover and let the dough rest for 30 minutes — this autolyse lets the flour hydrate and makes the gluten easier to develop.
- 2
Add the active starter and salt to the rested dough. Squeeze and fold the dough with wet hands until the starter and salt are fully incorporated, about 2 minutes.
- 3
Over the next 2 hours, perform four sets of stretch-and-folds at 30-minute intervals. For each set, grab a portion of dough, stretch it up, and fold it over itself; rotate the bowl and repeat until you've gone all the way around.
- 4
After the final fold, cover the bowl and let the dough bulk-ferment at room temperature until it has grown by about half and feels airy, 2 to 3 hours depending on your kitchen's temperature.
- 5
Turn the dough out onto a lightly floured surface. Fold the four edges into the center to build surface tension, then flip seam-side down and cup it into a smooth round. Let it rest uncovered for 20 minutes.
- 6
Shape the dough into a tight boule and place it seam-side up in a flour-dusted proofing basket. Cover and refrigerate for 12 to 16 hours — the cold proof builds flavor and makes the loaf easier to score.
- 7
Place a lidded Dutch oven inside the oven and preheat to 500°F (260°C) for a full hour. Turn the cold dough out onto parchment, score it with a sharp blade, and lower it into the hot Dutch oven.
- 8
Bake covered for 20 minutes, then reduce the heat to 450°F (230°C), remove the lid, and bake another 20 to 25 minutes until the crust is a deep mahogany.
- 9
Cool the loaf completely on a wire rack — at least 2 hours — before slicing. Cutting warm sourdough crushes the crumb you just worked all day to build.